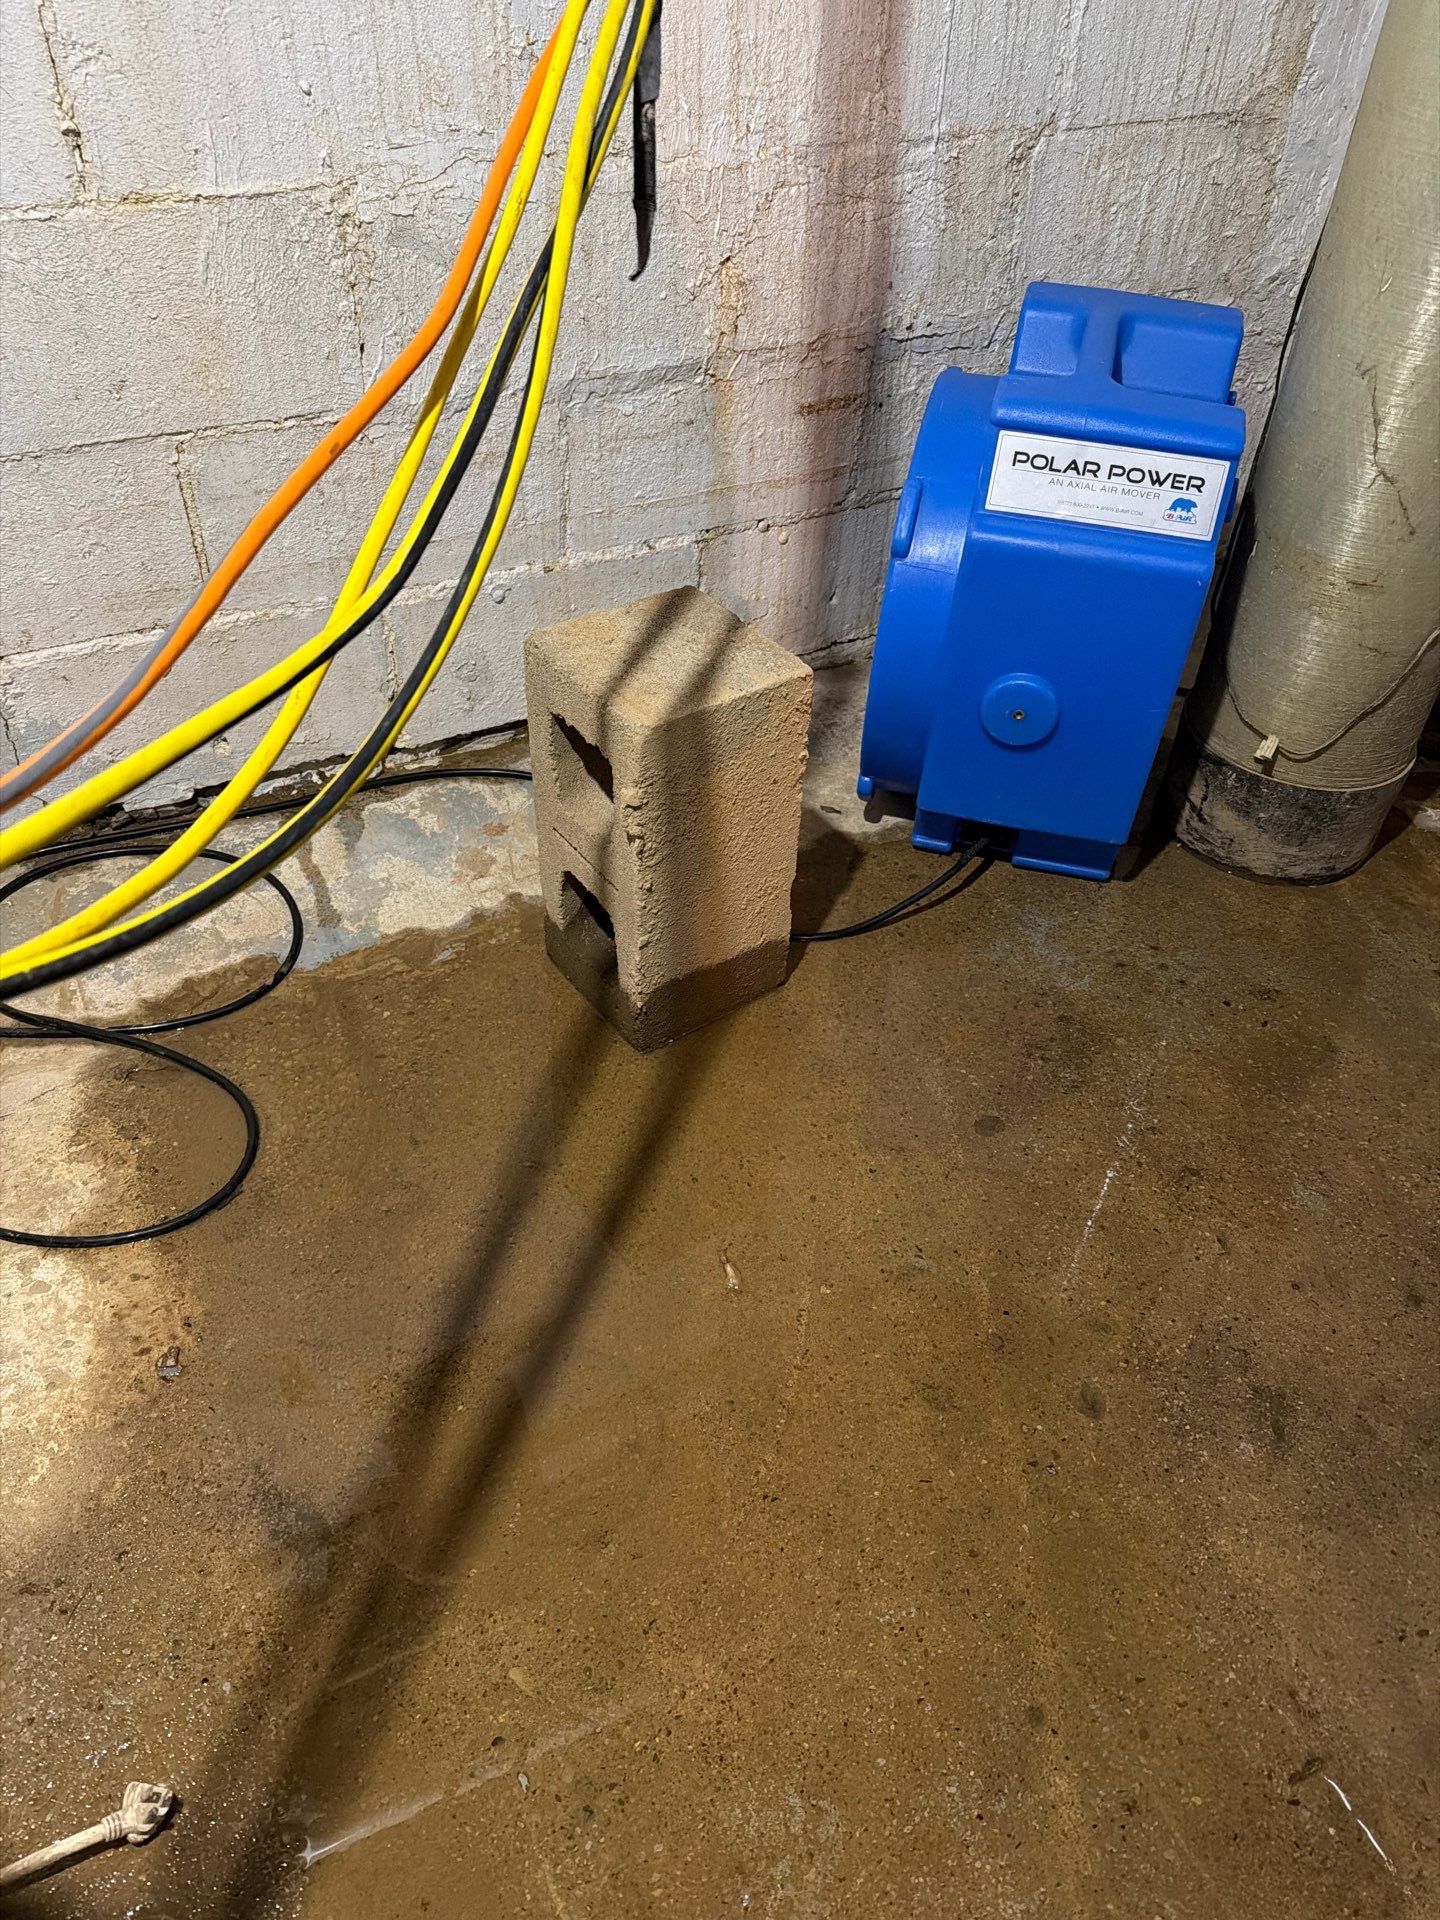
Step 1: Stop Source and Secure the Area (0 to 15 Minutes)
- Shut off the main water supply at the street valve or interior shutoff.
- If sewage is backing up, stop all water use in the home (no flushing, no sinks, no laundry).
- Cut power to affected rooms at the breaker if water is within 24 inches of any outlet.
- Evacuate children, elderly, immunocompromised individuals, and pets. Category 3 water exposure can cause gastroenteritis, hepatitis A, and E. coli infection.
- Close HVAC registers in the affected zone and shut the system off to prevent aerosolized pathogen spread.
- Photograph everything before any item is moved. Insurance adjusters require pre-mitigation documentation.
- Mark the visible waterline on every wall with painter's tape before extraction begins. This becomes the reference point for demolition cuts later.
- Open a written incident log with date, time, and observed source (toilet overflow, floor drain backup, sewer main, sump failure).
Step 2: Call for Professional Assessment (Within 60 Minutes)
- Contact a licensed IICRC firm. Response time in Delphi should be under 60 minutes for a true Category 3 event.
- Confirm the company carries Applied Microbial Remediation Technician (AMRT) credentials.
- Verify the crew uses Tyvek suits, N95 or P100 respirators, nitrile gloves rated 8 mil or higher, and rubber boots.
- Do not allow any worker on site without full PPE. This is non-negotiable under S500.
- Ask Delphi Water Restoration for proof of general liability coverage at $1 million minimum and pollution liability coverage specific to biohazard work.
- Request a written scope of work before signing any authorization. The scope should reference S500 Category 3 protocols by name.
Step 4: Bulk Water and Sewage Extraction (Hour 2 to Hour 6)
- Deploy a truck-mounted extractor with a minimum vacuum of 150 inches of water lift for bulk removal.
- For solids, use a self-priming trash pump rated 2-inch to 3-inch discharge.
- Extract until moisture meter readings on hard surfaces fall below 4 percent.
- Dispose of all extracted material as biohazard waste per local Delphi regulations. Indiana requires manifested disposal for Category 3 volumes over 55 gallons.
- Stage rolling biohazard containers inside the containment, not in the driveway, to avoid cross-contamination of clean exterior surfaces.
Step 5: Demolition and Removal of Porous Materials
- Remove and bag all carpet and pad. Carpet contaminated by Category 3 water cannot be salvaged under S500.
- Cut drywall 24 inches above the highest visible waterline. If wicking is present above that line, raise the cut another 12 inches.
- Remove baseboards, shoe molding, and any wood trim that contacted black water.
- Pull insulation from wall cavities. Fiberglass and cellulose both retain contaminants and must be discarded.
- Detach and dispose of particleboard, MDF, and OSB subfloor sections that show swelling over 1/16 inch.
- Double-bag every removed material in 6-mil contractor bags, seal with tape, and label as biohazard.
- Inspect wall cavities with a borescope before closing the demolition phase. Hidden fiberglass behind electrical boxes is the most common miss.
If you are unsure whether this overlaps with what you have read about sewage backup cleanup procedures, the demolition phase is where Category 3 jobs diverge most sharply from Category 1 or 2 work.
Common Mistakes That Void Insurance Coverage
- Running the HVAC system during or after the event. This spreads contamination and is grounds for partial denial.
- Discarding damaged contents before the adjuster inspects or approves a photographic inventory.
- Hiring an unlicensed handyman to cut drywall. Carriers require IICRC-certified documentation on Category 3 claims.
- Delaying notification past 72 hours. Most policies require prompt notice and reserve the right to deny secondary damage.
- Mixing salvageable contents with discarded items in the same bag. Each category must be logged separately.
Step 9: Insurance and Reconstruction Coordination
- Submit a detailed Xactimate estimate including line items for PPE, biohazard disposal, and antimicrobial application.
- Most Delphi homeowner policies cover sudden and accidental sewage events but exclude sewer backup unless a specific endorsement is on file. Verify your declarations page.
- Begin reconstruction only after passing clearance. Premature drywall installation traps residual moisture and creates mold within 72 hours, which is covered in our notes on mold after water damage.
- If the loss originated below grade, review our basement flooding service page for additional structural considerations.
- Request that Delphi Water Restoration provide a complete job file including moisture logs, photos, disposal manifests, and clearance results. This package protects you if a future claim or sale of the home is questioned.
Typical Cost Ranges in Delphi
- Small bathroom Category 3 event: $2,800 to $5,500
- Finished basement sewage backup (under 500 sq ft): $7,000 to $15,000
- Whole-floor black water loss: $15,000 to $45,000 or higher with reconstruction
- Crawlspace contamination with vapor barrier replacement: $4,500 to $11,000
- Third-party clearance testing add-on: $450 to $900 per inspection
Step 3: Containment Setup (Hour 1 to Hour 2)
- Install 6-mil polyethylene sheeting from floor to ceiling at every doorway leading out of the affected zone.
- Set up a negative air pressure differential of at least -5 Pascals using HEPA-filtered air scrubbers rated 500 to 2000 CFM.
- Create a decontamination chamber at the primary exit with two zones: dirty side and clean side.
- Tape all electrical outlets, vents, and seams with duct tape rated for poly use.
- Place tack mats at the clean side of the decon chamber and replace them when visibly soiled.
- Verify negative pressure with a digital manometer at hour 2 and every 4 hours after. Document each reading.
Step 6: Cleaning and Decontamination (Hour 8 to Hour 24)
- Apply an EPA-registered hospital-grade disinfectant. Quaternary ammonium compounds at 800 to 1000 ppm or a hypochlorite solution at 5000 ppm are standard.
- Allow a minimum dwell time of 10 minutes before wiping.
- Use HEPA vacuums (99.97 percent efficiency at 0.3 microns) on all non-porous surfaces after disinfection.
- Treat structural framing with an antimicrobial registered for porous substrates.
- Wipe joists, studs, and subfloor with white terry cloth and inspect under high-lumen work lights for residual staining.
- Apply a second disinfectant pass on any surface that shows residue on the terry cloth wipe.
Step 7: Structural Drying (Day 1 to Day 5)
- Place LGR (low-grain refrigerant) dehumidifiers sized at 1 unit per 1500 cubic feet of affected space.
- Set air movers at a ratio of 1 unit per 10 to 16 linear feet of wall.
- Target grain depression of 30 to 40 grains per pound between intake and exhaust.
- Monitor moisture content twice daily with a pinless meter. Wood framing should reach 14 percent or lower before reconstruction.
- Log temperature, relative humidity, and GPP readings each visit for the insurance file.
- Reposition air movers every 24 hours so no wall surface receives static airflow for the full dry-down.
Step 8: Post-Remediation Verification
- Conduct a third-party clearance inspection if the affected area exceeds 100 square feet or contained known sewage.
- Run ATP swab testing on cleaned surfaces. Readings under 30 RLU indicate adequate cleaning.
- Perform a final moisture map and attach it to your insurance claim documentation.
- Collect at least one air sample inside containment and one outdoor control sample if mold colonization is suspected.