Step 1: Shut Off Water at the Correct Valve (0 to 2 Minutes)
- Locate the angle stop under the sink or behind the appliance. Turn clockwise until firm. Most stops close in 4 to 6 full turns.
- If the angle stop is corroded, stripped, or spinning freely, move to the main shutoff. In Delphi homes built after 1985, this is typically near the water heater or where the service line enters the basement or crawl space.
- For ice maker lines, follow the 1/4 inch copper or PEX tubing back to the saddle valve or dedicated stop, usually under the sink or in the basement directly below the fridge.
- Confirm shutoff by opening the affected faucet or running the dishwasher drain cycle. Flow should stop within 15 seconds.
- If you hear a hissing or trickling sound after closing the valve, the stop is failing internally. Cap the supply line with a 3/8 inch compression cap until a plumber can replace the valve.
Step 2: Cut Power to Wet Circuits (2 to 5 Minutes)
- At the main panel, trip the breakers feeding the dishwasher (typically 15A), disposal (15A or 20A), refrigerator (15A or 20A), and any kitchen GFCI receptacles within 6 feet of the spill.
- Do not stand in standing water while operating the panel. If the panel is in a wet basement, call your utility for a service disconnect.
- Tag the breakers with painter's tape so they are not reset until drying is verified.
- For homes with under-cabinet lighting on a separate circuit, kill that breaker too. Low-voltage transformers mounted inside the sink base are a common hidden failure point after a leak.
Step 5: Extract Standing and Trapped Water (Hour 1 to Hour 3)
- Surface water removal with truck-mounted or portable extractors rated 100 to 200 PSI.
- Cabinet kick-plate removal to access water trapped beneath the toe-kick. Expect 1/4 to 1 gallon hidden per linear foot of base cabinet.
- Drill 3/8 inch weep holes at the bottom plate of affected drywall if water has traveled behind the cabinet run.
- Lift a corner of vinyl plank or laminate flooring within 18 inches of the source to verify subfloor saturation.
- Pull the dishwasher 6 to 8 inches forward to inspect the floor underneath. Water frequently pools against the rear leveling feet and migrates into the adjacent cabinet bay.
Common Failure Points to Inspect After Repair
- Dishwasher supply elbow at the inlet valve: replace the braided line if older than 8 years.
- Refrigerator ice maker tubing: swap saddle valves for a quarter-turn ball valve and 1/4 inch compression fitting.
- Sink drain tailpiece and P-trap: hand-tighten plus a quarter turn with channel locks, no further.
- Garbage disposal flange putty: re-bed with plumber's putty if any movement is detected.
- Reverse osmosis filter housings: replace O-rings every 12 months and the housing every 5 years.
Step 8: Monitor Daily and Adjust (Day 1 to Day 4)
- Daily moisture readings logged at the same points each visit.
- Equipment repositioning when a surface drops below 2 percent above dry standard.
- Typical structural dry time in Delphi kitchens: 3 to 5 days for Category 1, 5 to 7 days when materials must be removed.
Step 4: Call a Certified Mitigation Team (Within 1 Hour)
The IICRC S500 standard sets a 24 to 48 hour window before Category 1 clean water can degrade to Category 2 grey water, and 48 to 72 hours before mold colonization begins on cellulose materials at 60 percent or higher humidity. Delphi Water Restoration dispatches across Delphi within 30 to 90 minutes on emergency calls. Our review of dishwasher leak water damage and floor repair covers the appliance-specific assessment in detail.
Step 10: Repair, Reinstall, and Verify
- New subfloor sections fastened at 6 inch on-center on edges, 12 inch on-center in the field.
- Cabinet reset with adjusted shims and new toe-kick.
- Final moisture verification before flooring reinstall.
- Itemized invoice formatted for insurance, with Xactimate line items.
Step 6: Measure Moisture and Map the Affected Area (Hour 2 to Hour 4)
- Use a pinless meter on hardwood, subfloor, and drywall. Document readings every 24 inches.
- Dry standard for Delphi hardwood: 7 to 9 percent moisture content. Subfloor (OSB or plywood): 12 to 16 percent. Drywall: under 1 percent on a Tramex scale reading.
- Thermal imaging to find concealed moisture in wall cavities and under island bases.
- Mark the affected area with painter's tape so the drying zone is clearly defined.
- Establish two unaffected reference points on the same materials elsewhere in the home. These baseline values prove when the affected zone has returned to equilibrium.
Step 3: Document Before You Touch Anything (5 to 15 Minutes)
- Photograph the source, the spread, and every wet surface. Take wide shots and close-ups. Aim for 25 to 40 images minimum.
- Record a 60 to 90 second video panning across the kitchen, including under cabinets and around the appliance feet.
- Note the time of discovery, the suspected source, and any prior repairs to that fixture.
- Save receipts for the failed component. Insurers often request proof of sudden and accidental failure.
- Photograph the model and serial plates of the dishwasher, refrigerator, or under-sink filter. Manufacturer recall data may shift liability away from your policy.
Step 7: Set the Drying Equipment (Hour 3 to Hour 6)
- Air movers at 1 per 50 to 60 square feet of affected floor, angled 10 to 45 degrees toward wet surfaces.
- Low-grain refrigerant dehumidifier sized at 1 AHAM pint per 30 to 40 square feet of Class 2 loss.
- Target ambient conditions: 70 to 90 degrees F, 30 to 50 percent relative humidity, GPP differential of 30 or more between inside and outside the drying chamber.
- Containment with 6 mil poly if the kitchen opens to the rest of the home, to keep the drying chamber efficient.
Cost Ranges in Delphi
- Mitigation only (extraction and drying): 1,200 to 4,500 dollars
- Mitigation plus cabinet and flooring repair: 4,500 to 12,000 dollars
- Full kitchen with subfloor replacement: 12,000 to 28,000 dollars
Most homeowner policies cover sudden discharge from a sink or appliance. Our breakdown of water damage restoration cost shows what to expect line by line.
Step 9: Remove Unsalvageable Materials
- Particleboard cabinet bases swollen more than 1/8 inch are not recoverable.
- MDF toe-kicks and shoe molding: replace.
- Laminate flooring with edge swell: replace the run.
- Hardwood with cupping under 1/16 inch may dry flat. Beyond that, refer to our guide on hardwood floor water damage and whether to save or replace.
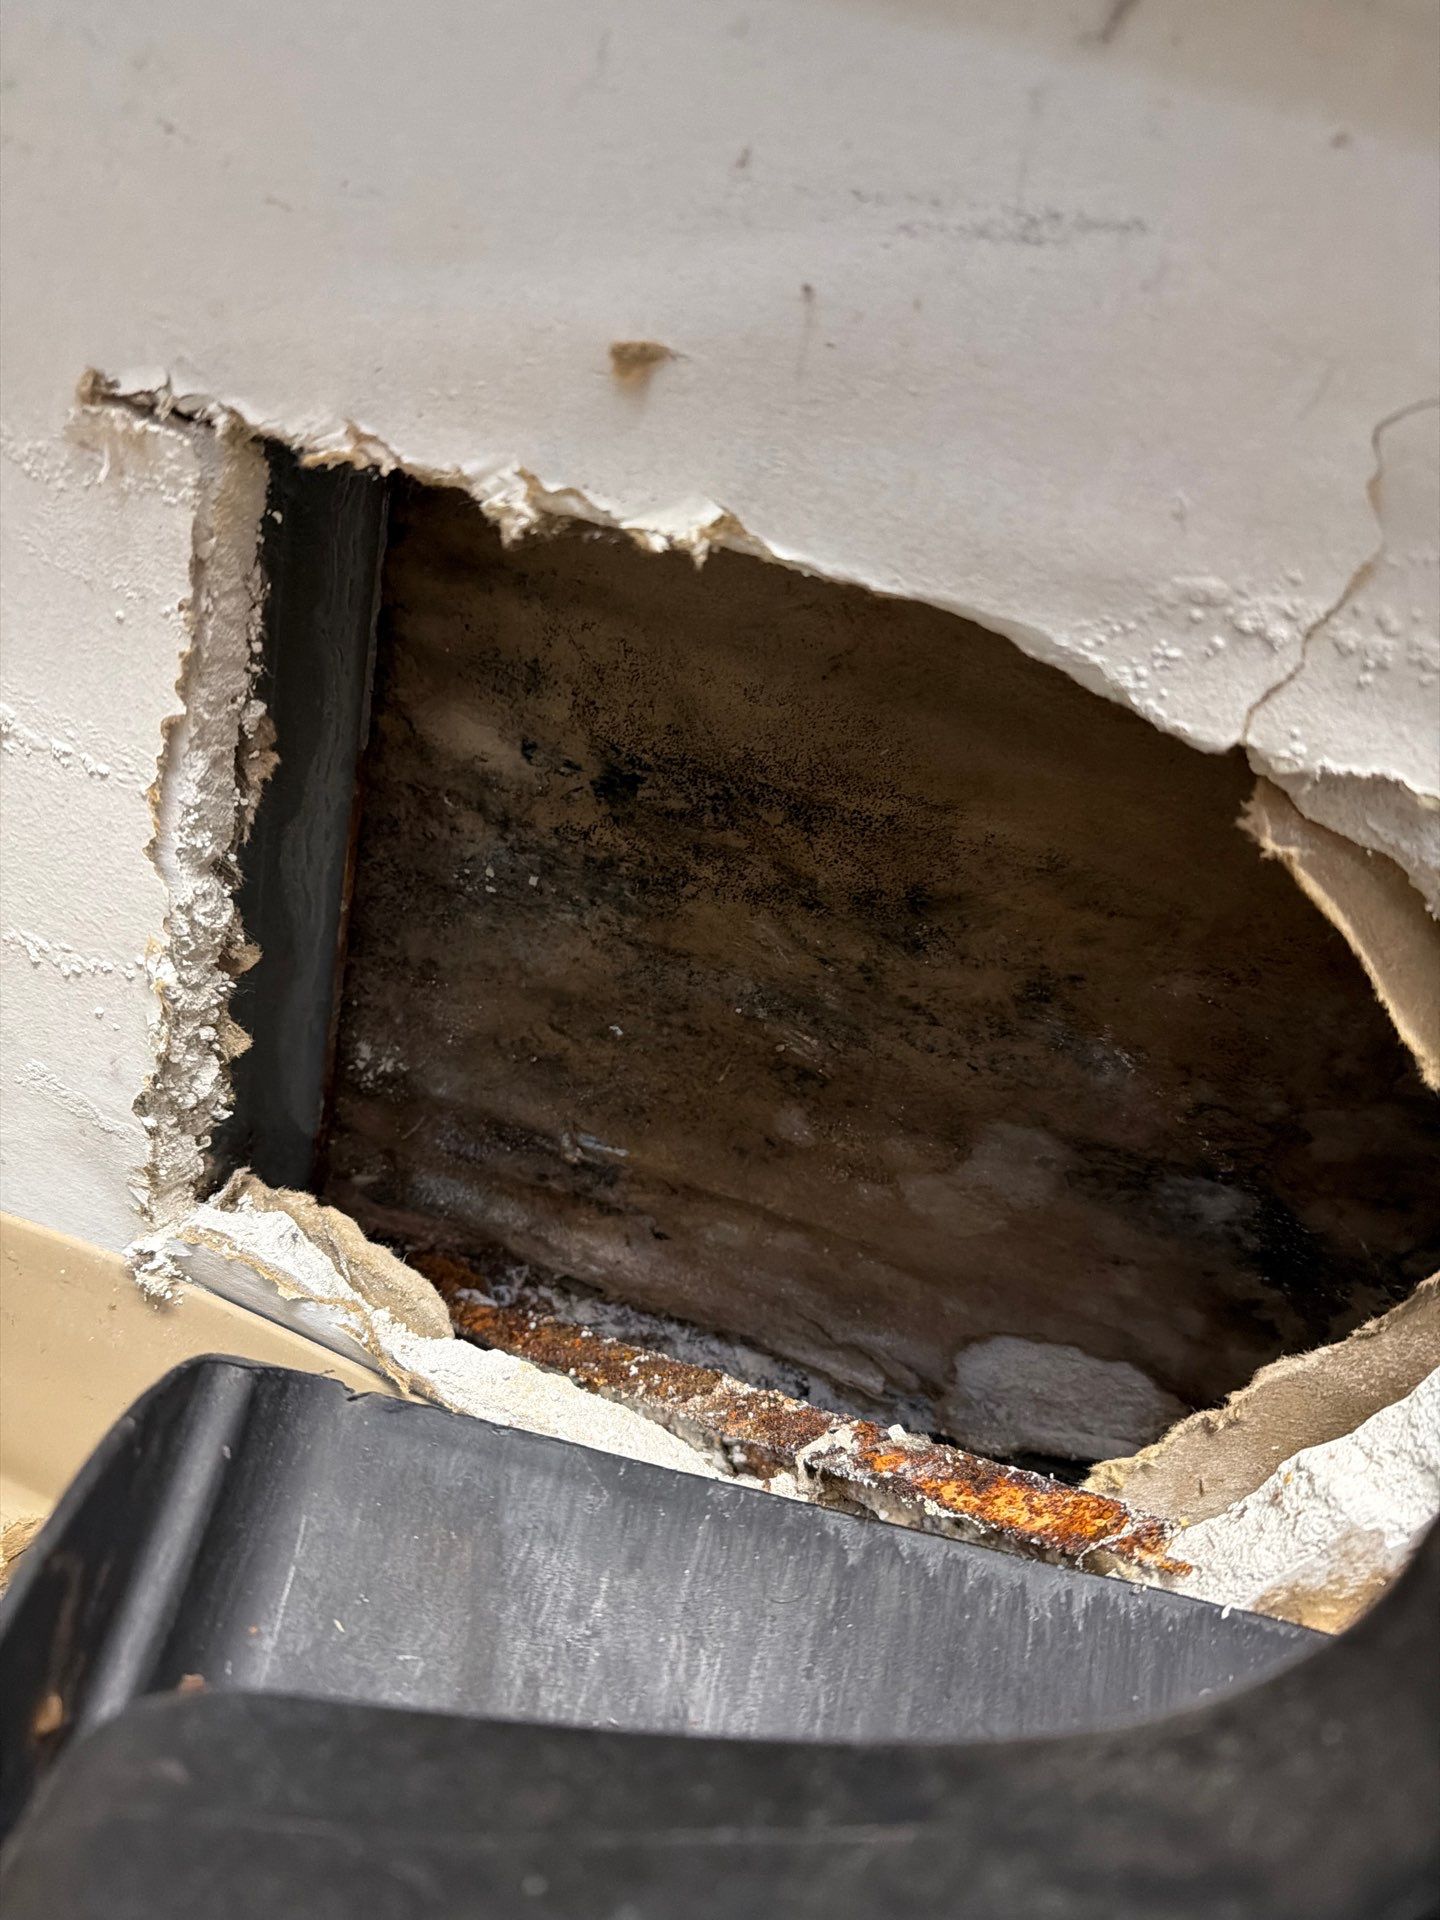
- Drywall wicked higher than 4 inches: flood-cut at 24 inches.
- Fiberglass batt insulation in exterior walls that scored above 1 percent on a Tramex scale: bag and dispose. Wet insulation loses R-value and holds moisture against framing for weeks.